Chatling is an intelligent chatbot that automatically learns from your website content, knowledge base, and other resources and responds to customers accurately and instantly.
Here’s a step-by-step guide on how to set it up.
1. Add data source
Chatling supports multiple data sources – url, sitemap, url list, text, FAQ and PDF documents (to be released at the time of writing this article).
If you’re running a WordPress blog like me, you can add your blog’s sitemap. The Chatling crawler will crawl all the links in your sitemap.
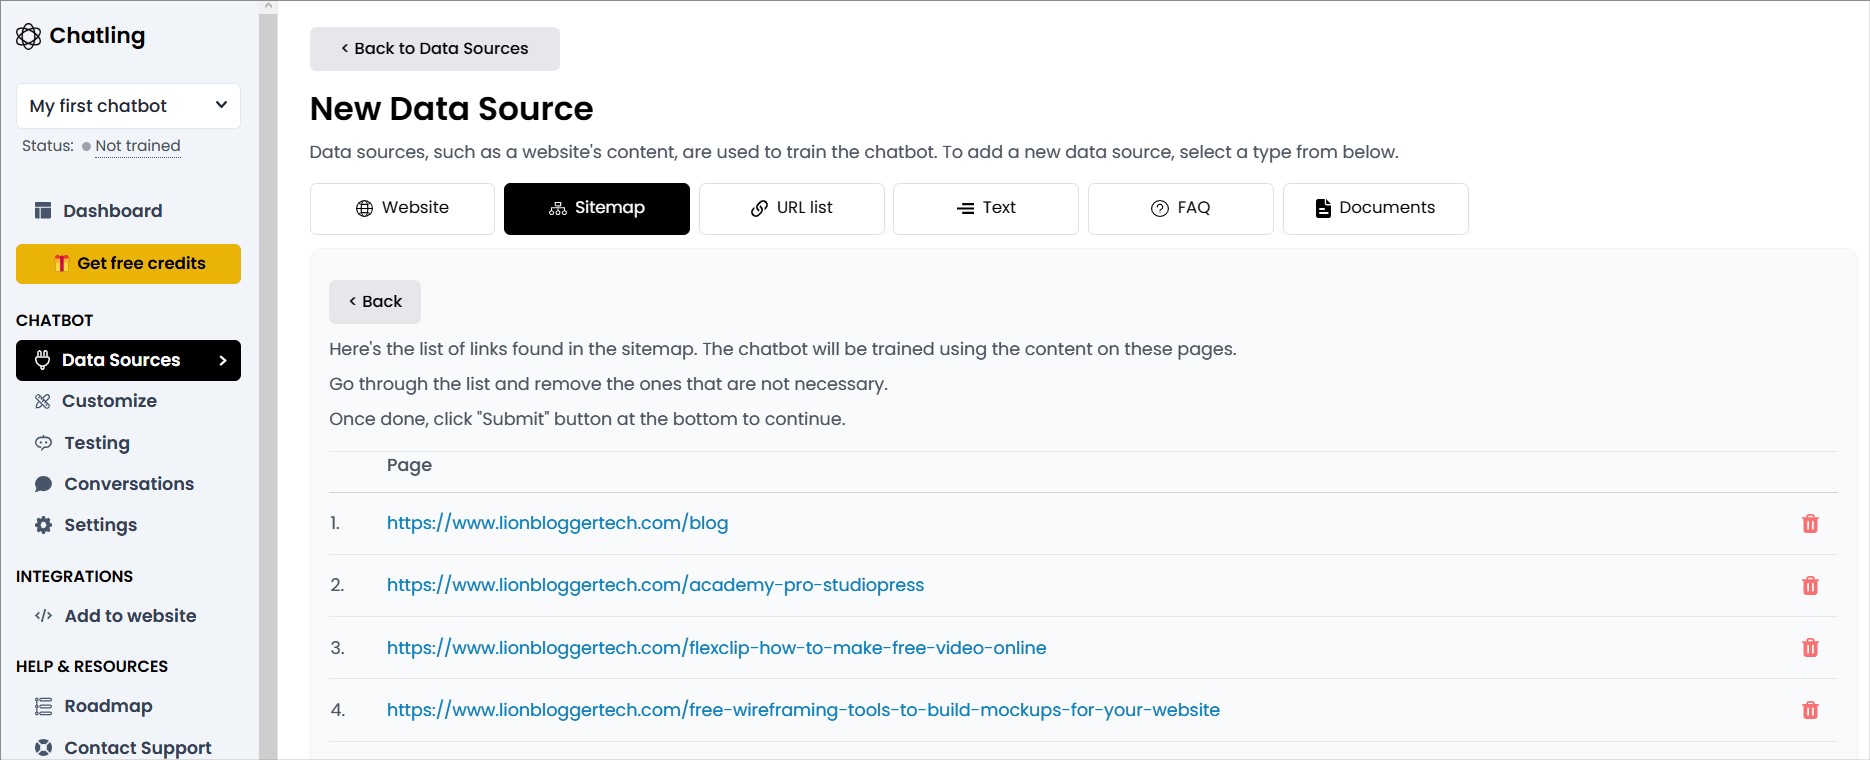
Once you submit, the Chatbot starts training the model. Status will be visible like the below.

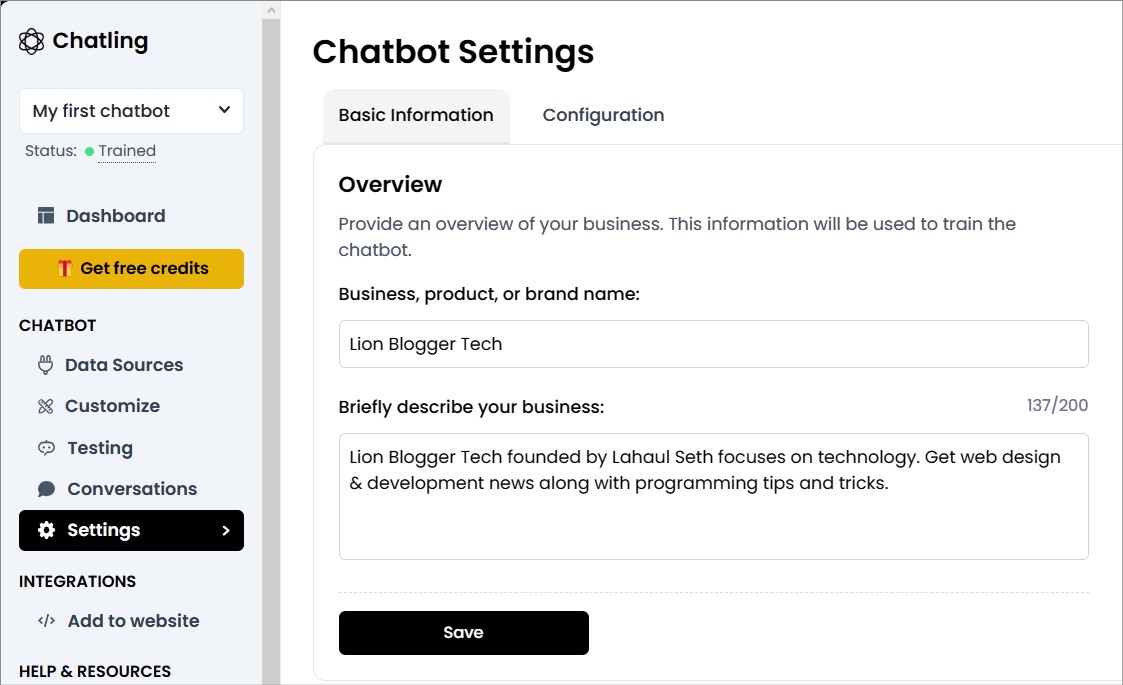
Once training is complete, status changes to ‘Trained’.

2. Add Chatbot Settings
Before you go on to the customize the chatbot, make sure to add some details about your business and brand. This helps in training the Chatling model accordingly.
3. Customize your chatbot
In the design tab, you can configure the appearance of your chat window. You can change the primary color, add your branding logo, select the shape of your logo etc.
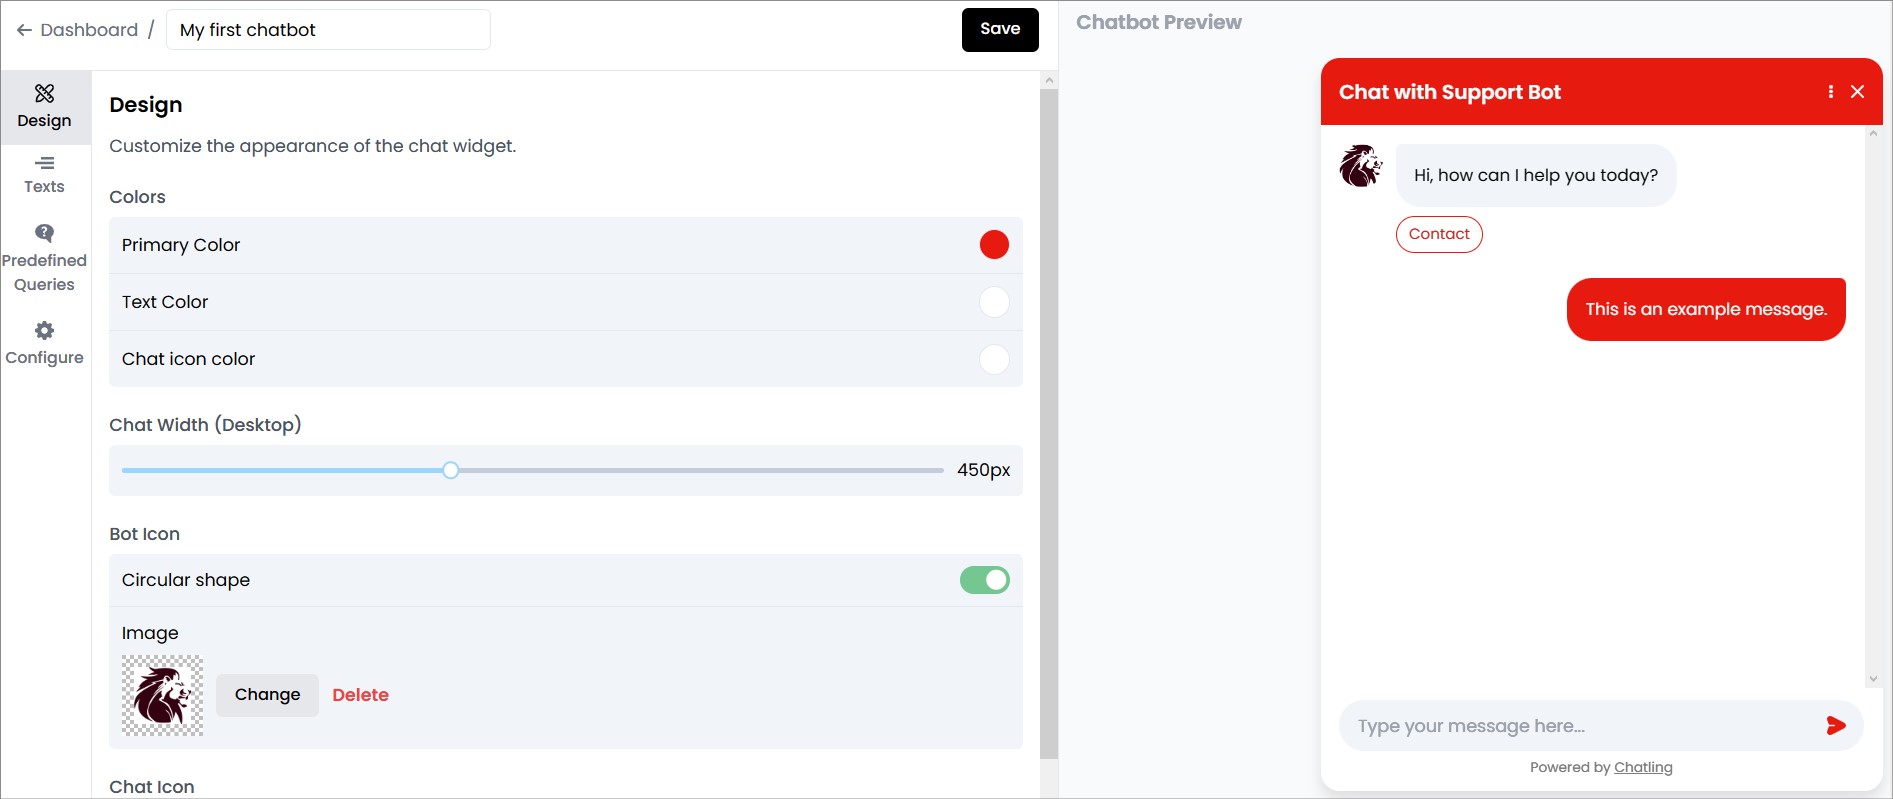
You can also add predefined queries and the custom welcome text.
Welcome text –
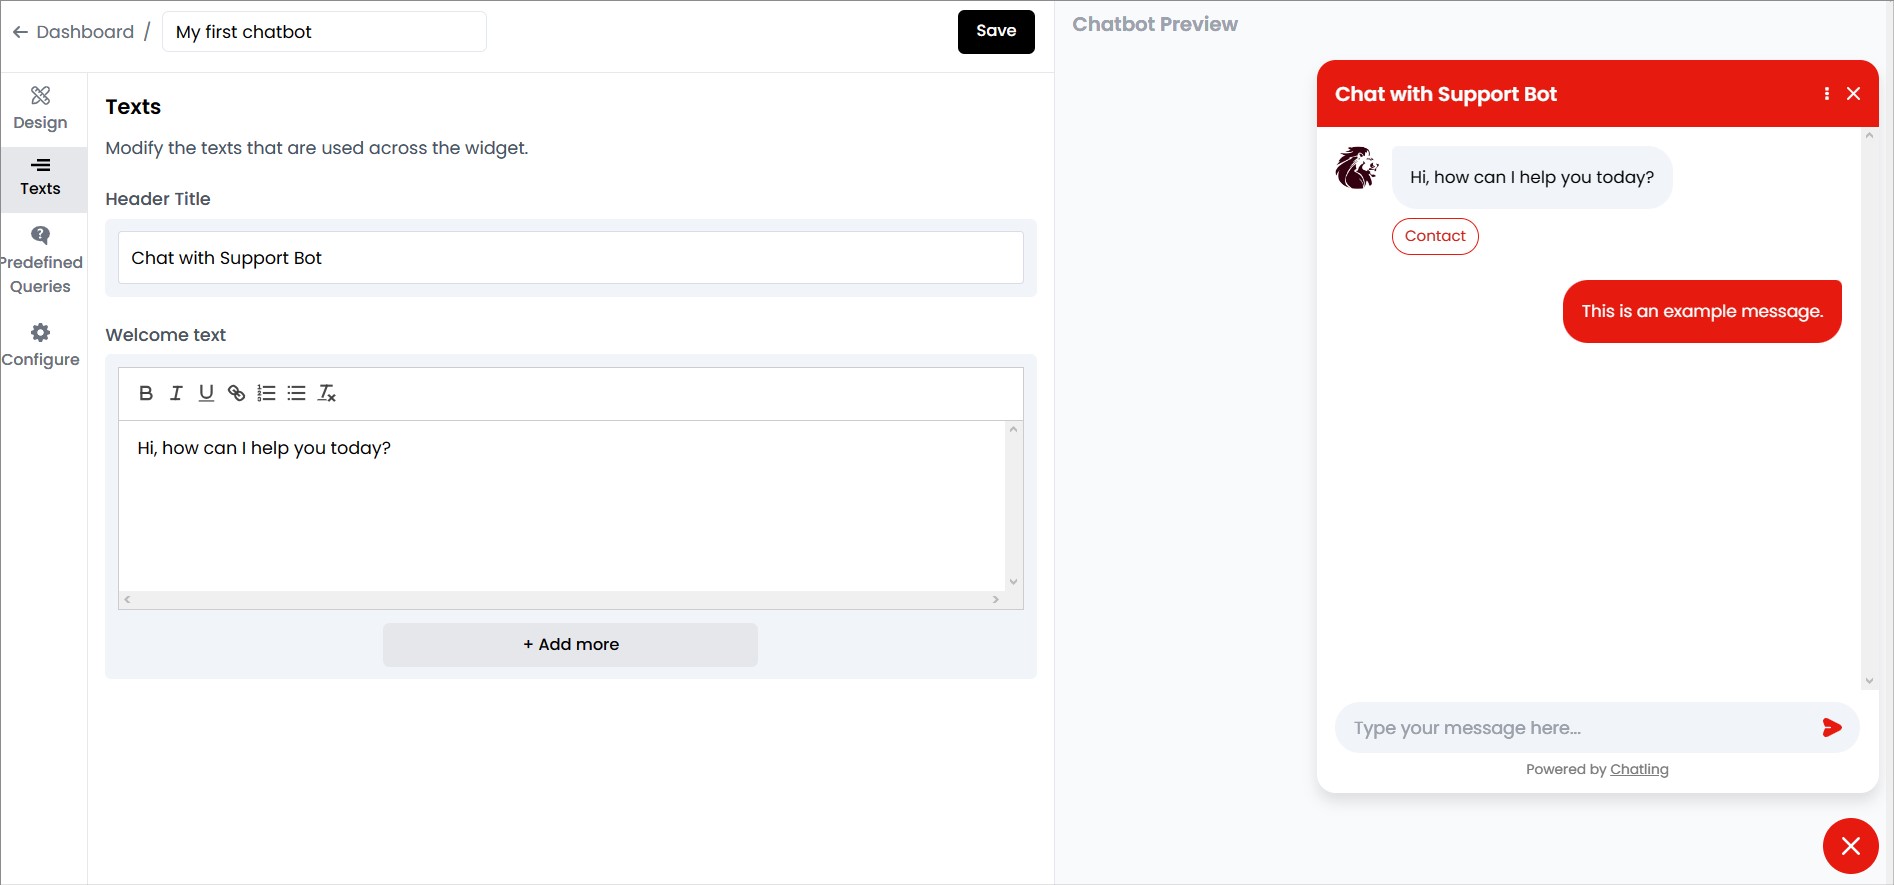
Predefined queries –

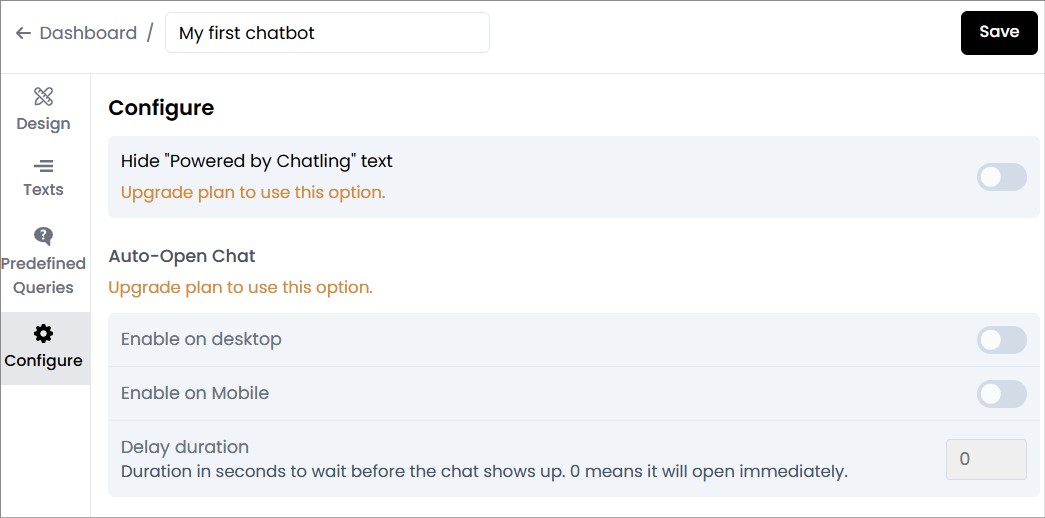
There are some additional configurations which are only available with a paid plan –
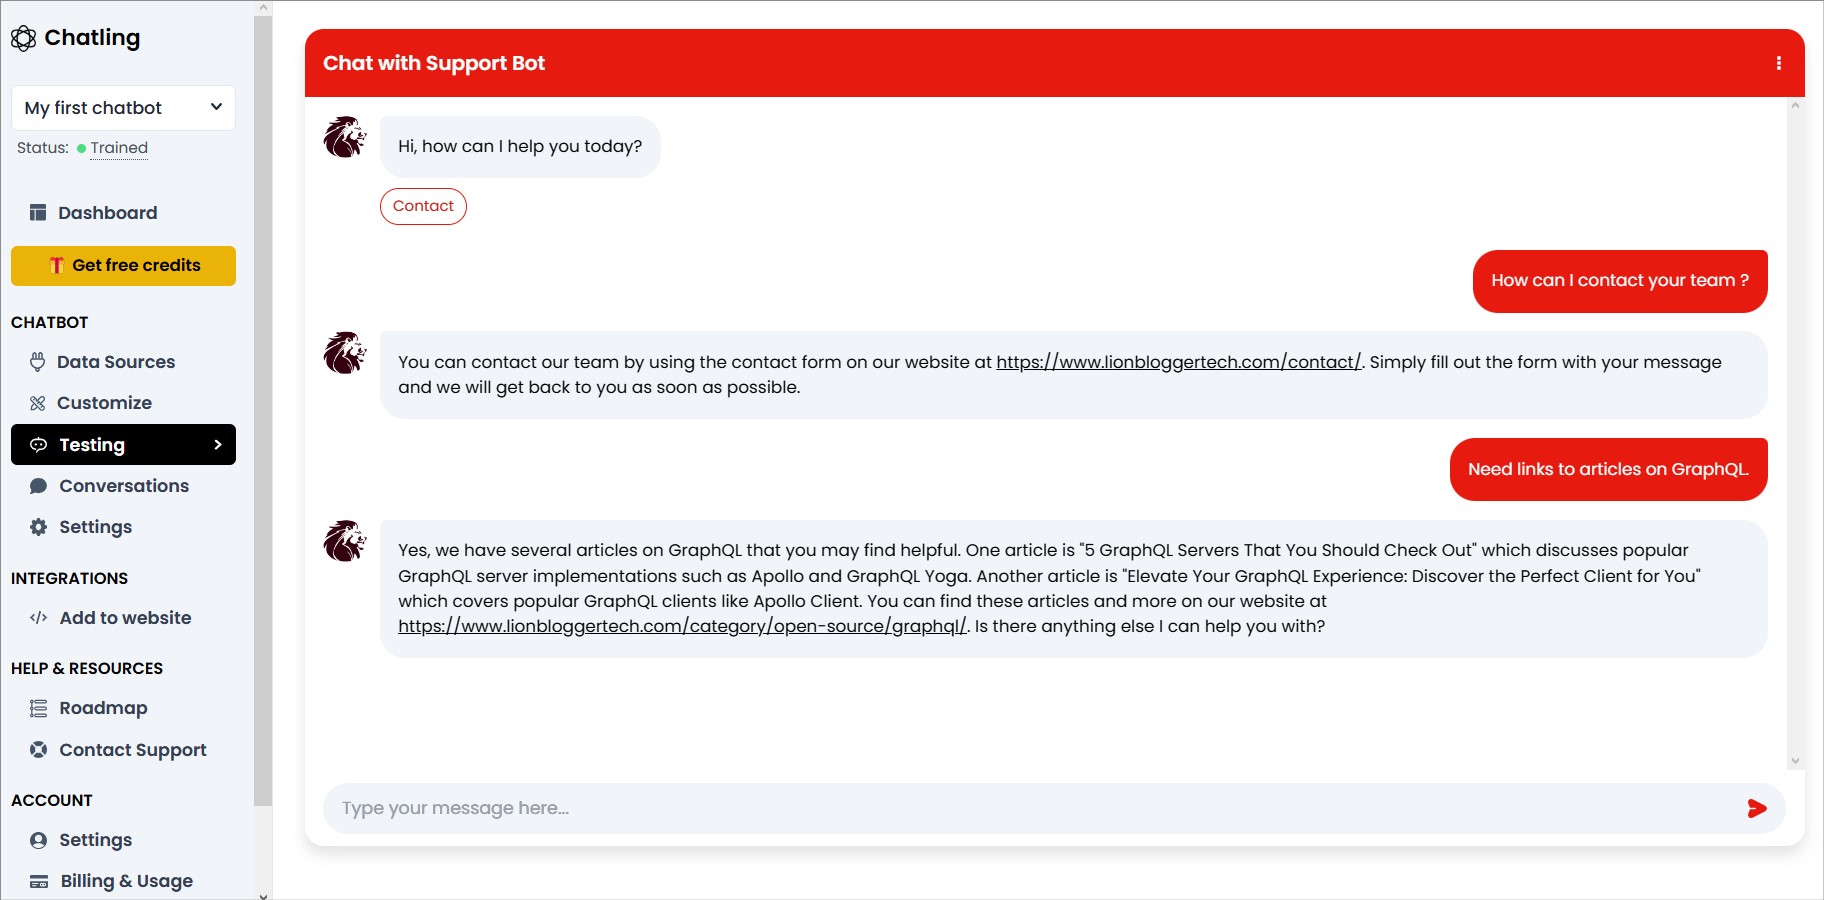
4. Testing your Chatling chatbot
Once you have completed designing your chat window, you can test your chatbot.
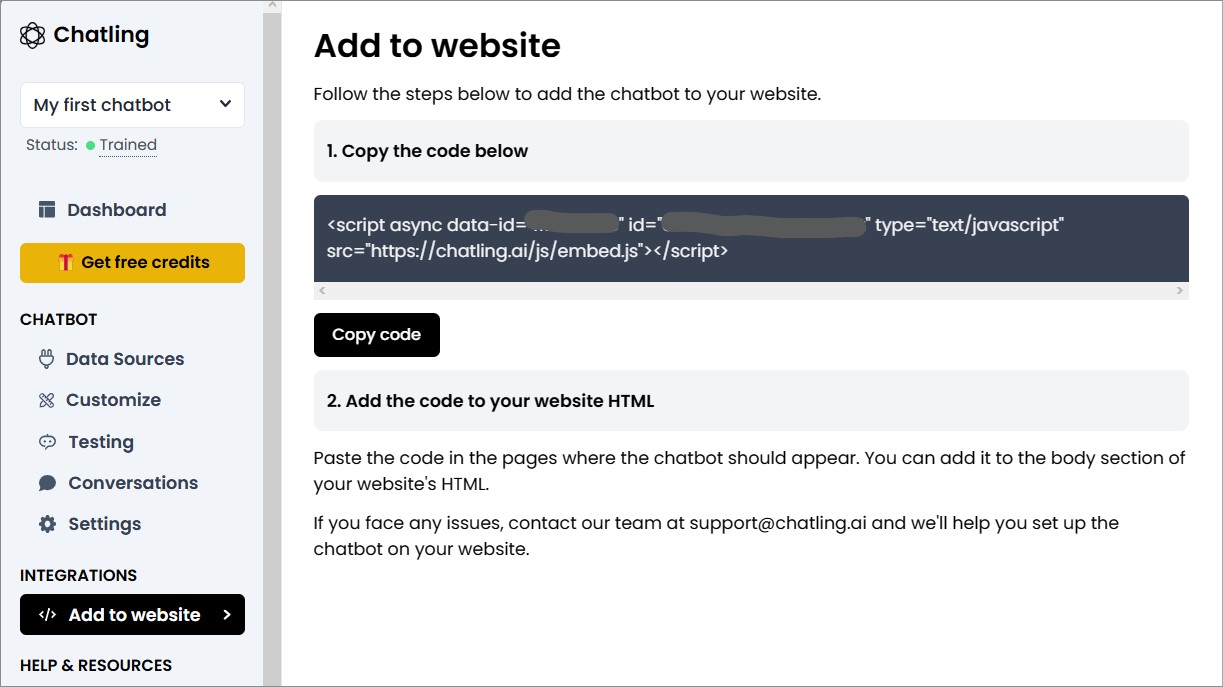
5. Add Chatling to your website
To add the chatbot to your website, you need to embed a simple HTML code on your site.
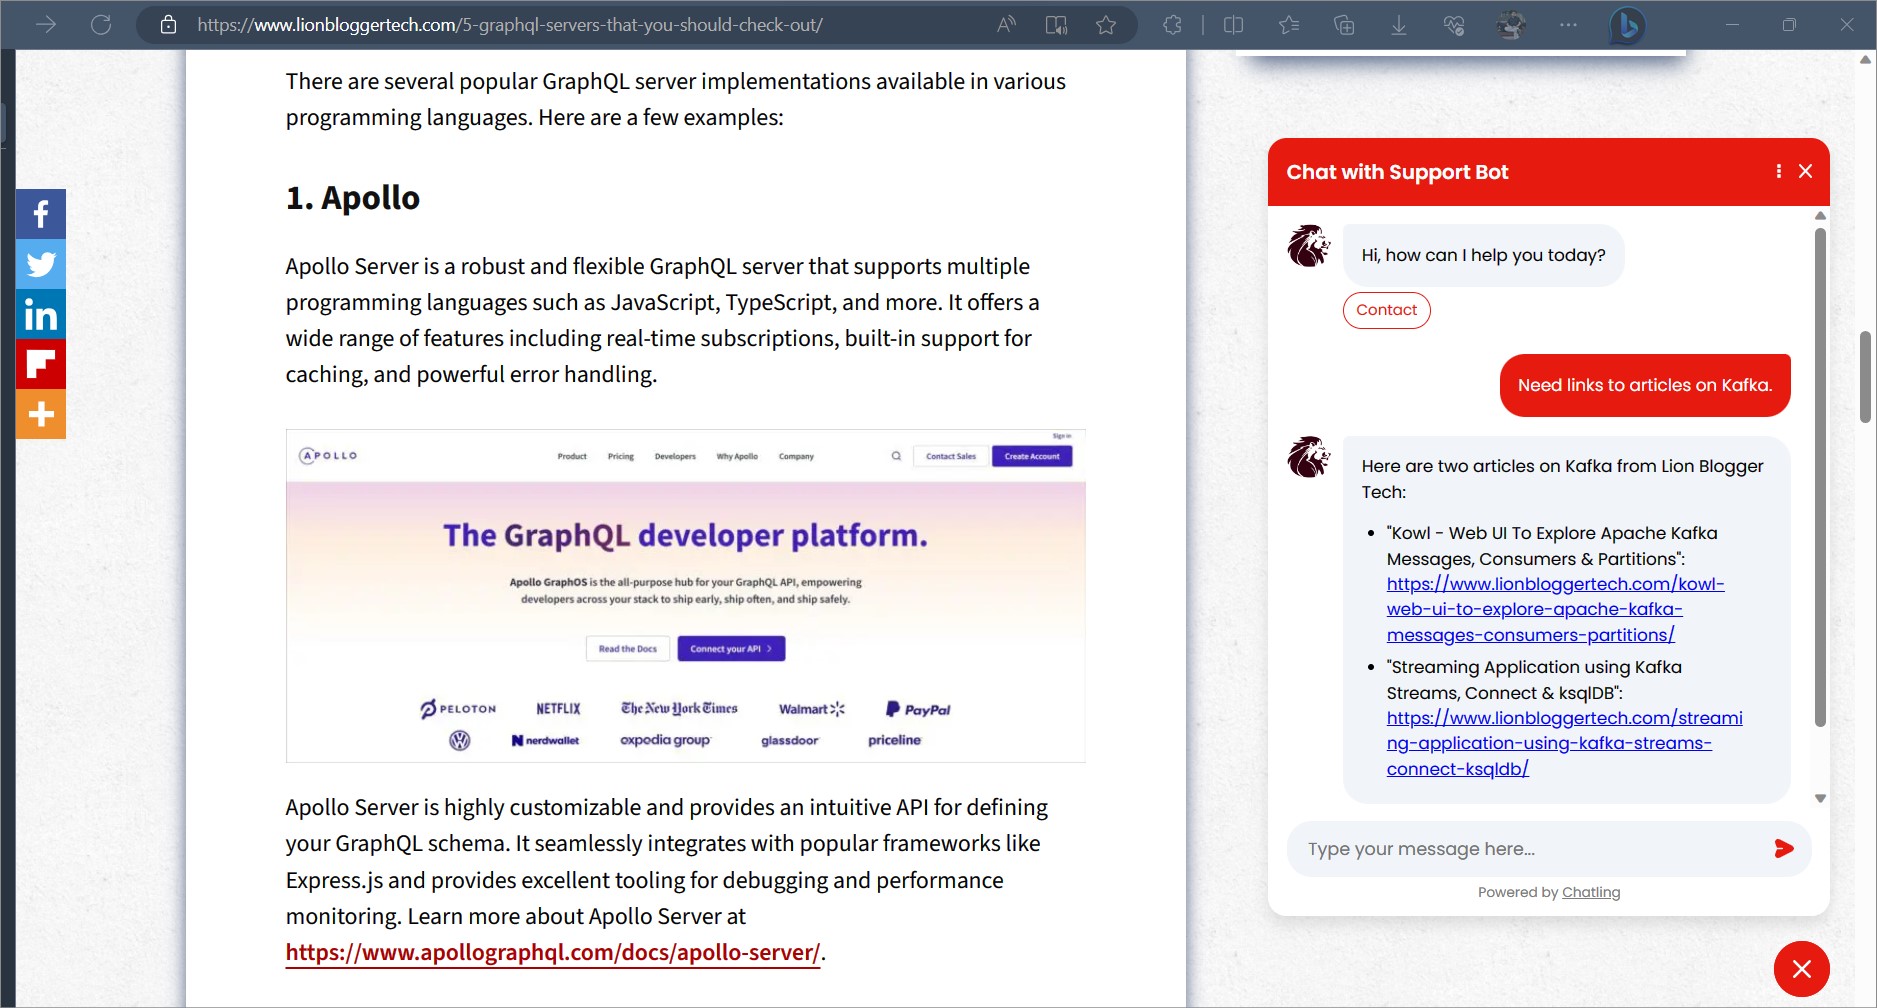
Once the HTML code is embedded, you can then test the chatbot directly on your site.
Pricing
The free plan for Chatling comes with limited features.
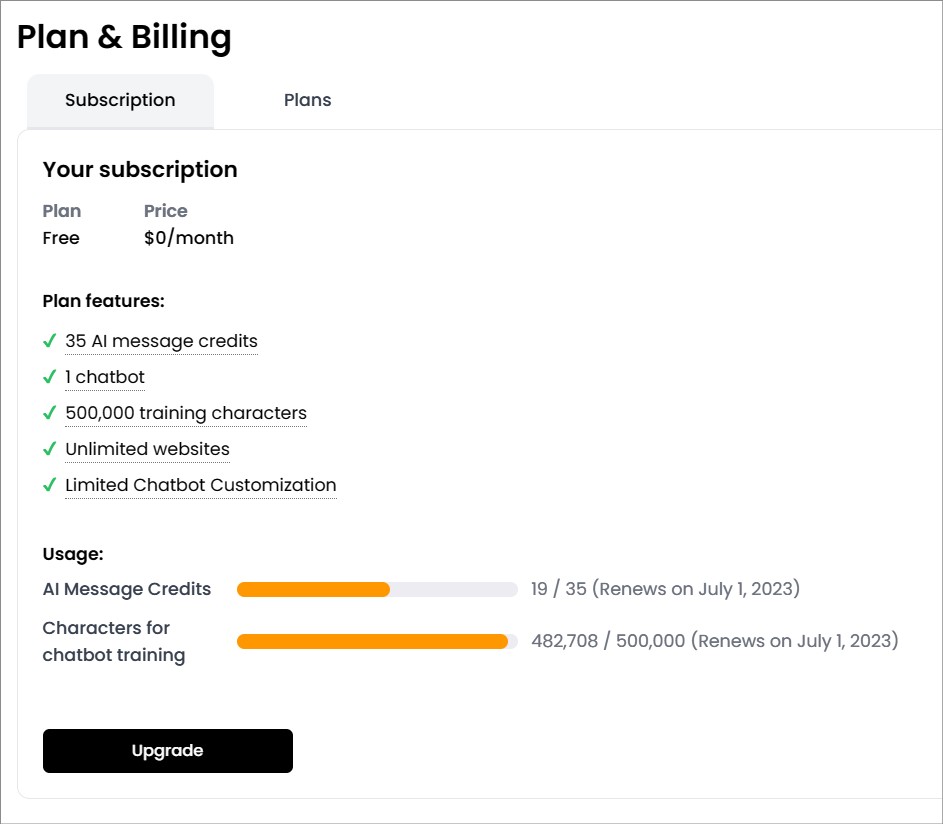
If you’re happy with what you see on the free plan, you can definitely go with a paid plan which gives you more options and features. You can check out the pricing plans here.
So, if you’re looking for an intelligent chatbot for your website, make sure to check out Chatling.