Hygraph is a GraphQL Headless CMS with content APIs. It decouples your backend from your frontend and enables you to publish content to multiple platforms simultaneously. Hygraph takes Headless CMS one step further and allows you to make API calls via GraphQL’s Query and Mutation APIs.
The advantages of using a Headless CMS is your content remains centralized while you get the flexibility to distribute content to multiple platforms using APIs.

#1. Getting started with Hygraph
Once you sign up, you will get the option of starting a project from scratch or use an existing template. Templates are available for Blog, Podcast, SWAG Store and a Travel Site.

For this tutorial, let’s use a Blog template.
In Hygraph, all GraphQL queries are served through edge POPs. POPs or Points of Presence refers to servers that are placed at the center of high-density Internet Exchange Points around the world.
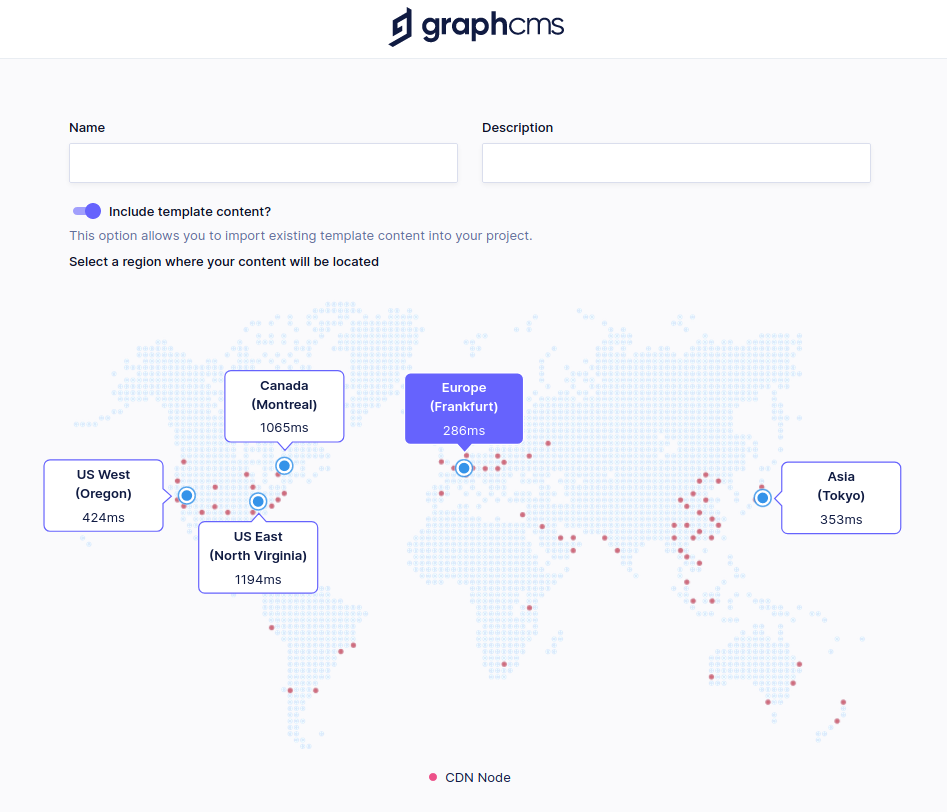
The selection of POP would depend on the geographical area you want to serve. For example, if your target audience is mostly based out of US, you should go for a POP in the US. If your target audience is in Asia, you should go for a POP in Asia. If your target audience is worldwide, then a POP in Europe could be the best option.
Below is the current pricing plan for Hygraph.
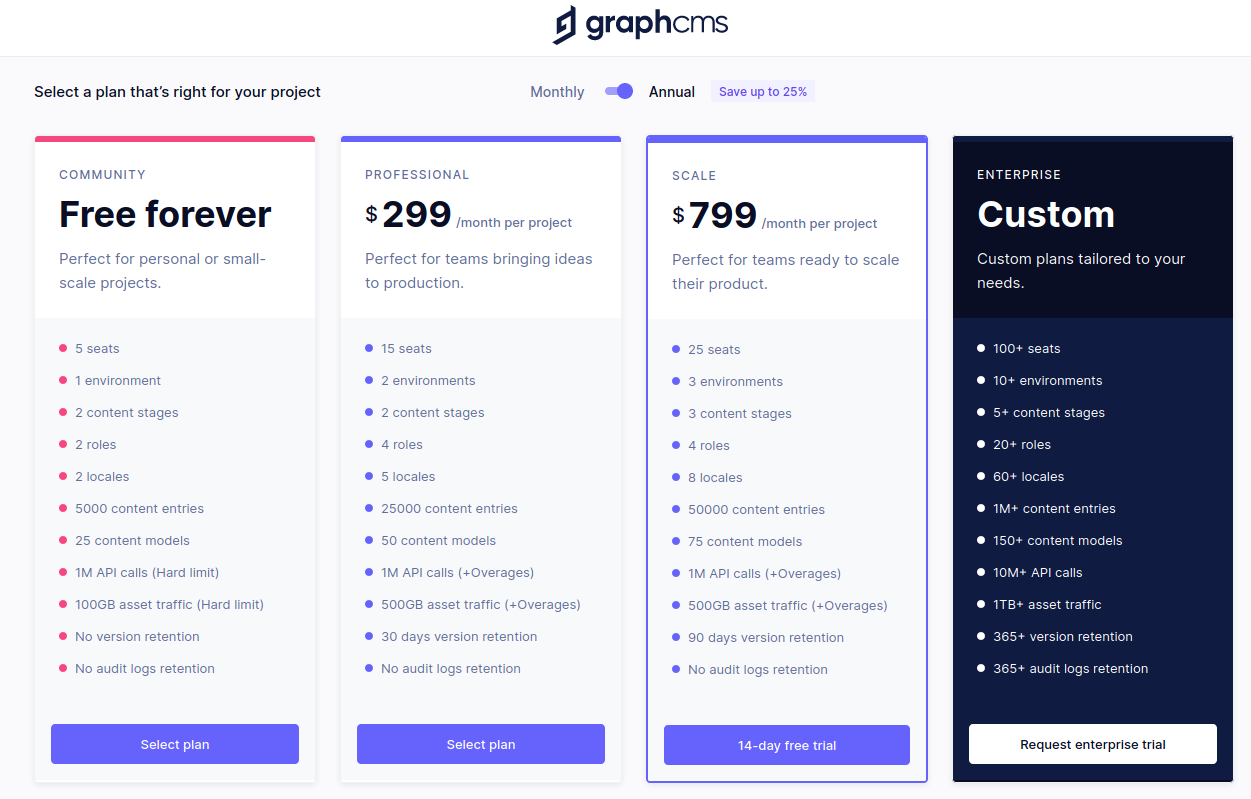
Once you have selected your plan, you can go ahead and create content.
#2. Creating content with Hygraph
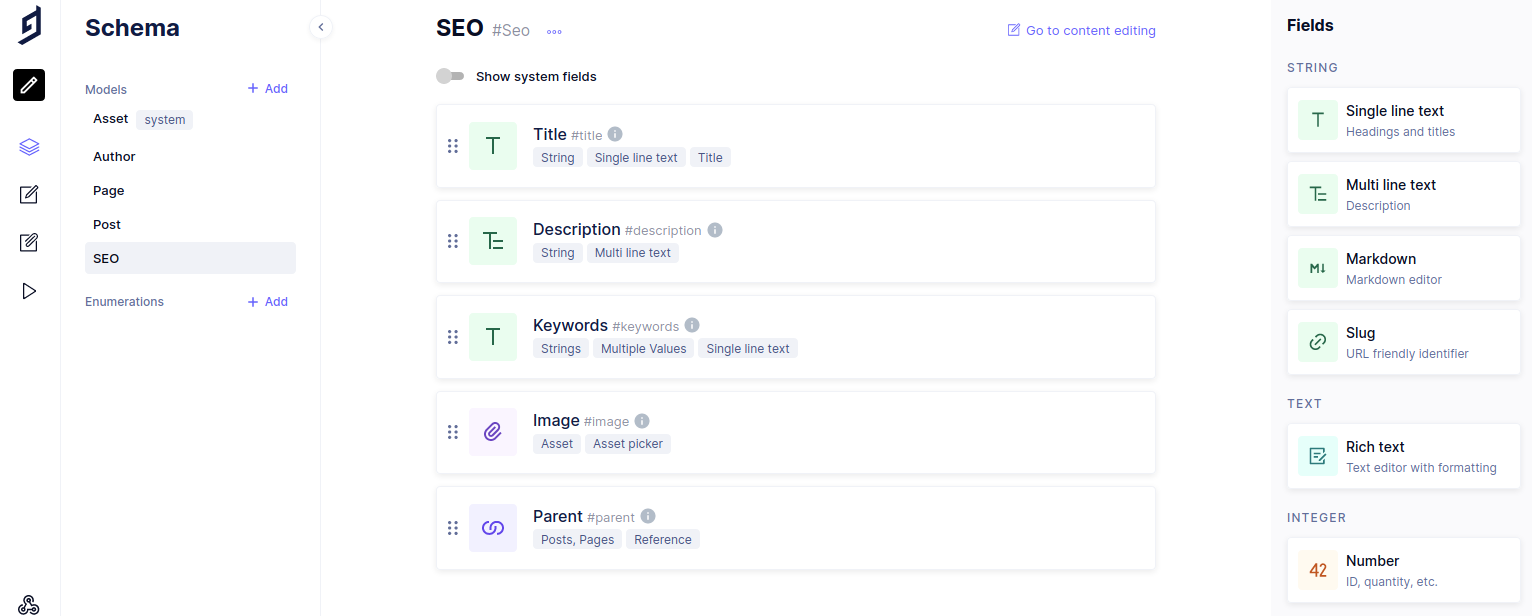
The first thing that you should do is define the schema for each of the models – Author, Page, Post, SEO. Few fields would already be present. If you want to add a few extra attributes, you can do so.
For example, SEO is important especially if you’re looking to create content for a website/blog.
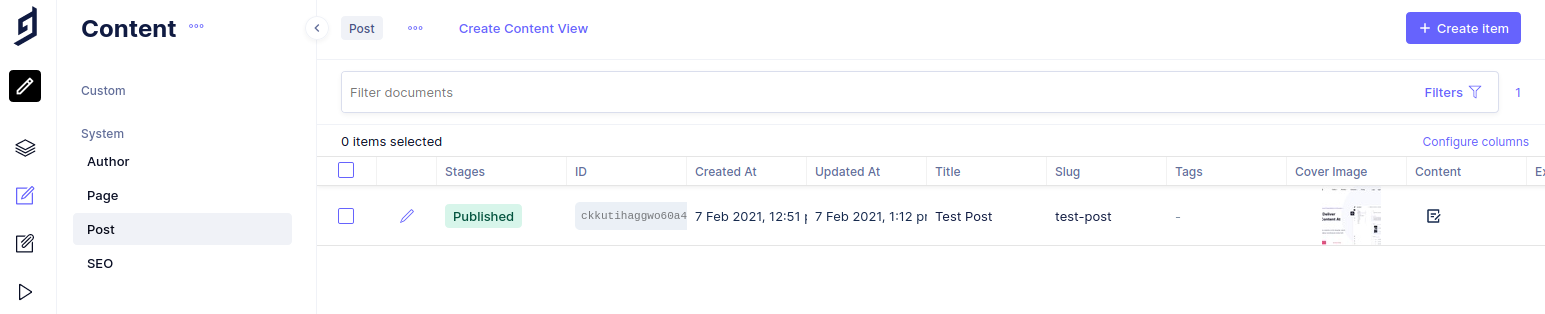
Hygraph provides a simple UI to add content. It provides a clutter free editor unlike some of the traditional CMS like WordPress.
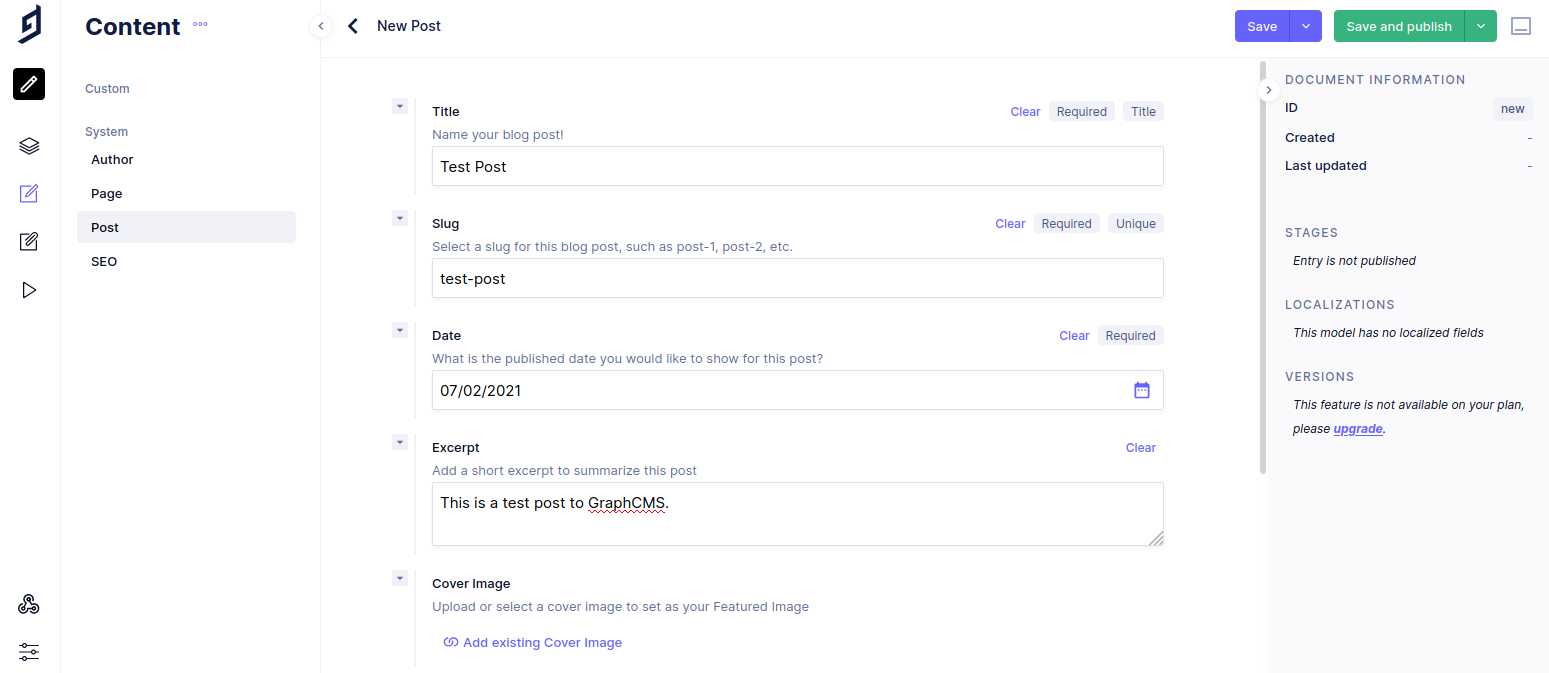
Once you publish the post, it will appear like below.
#3. Testing the GraphQL API
Once your post has been published, you can test the GraphQL API using the inbuilt API Playground.
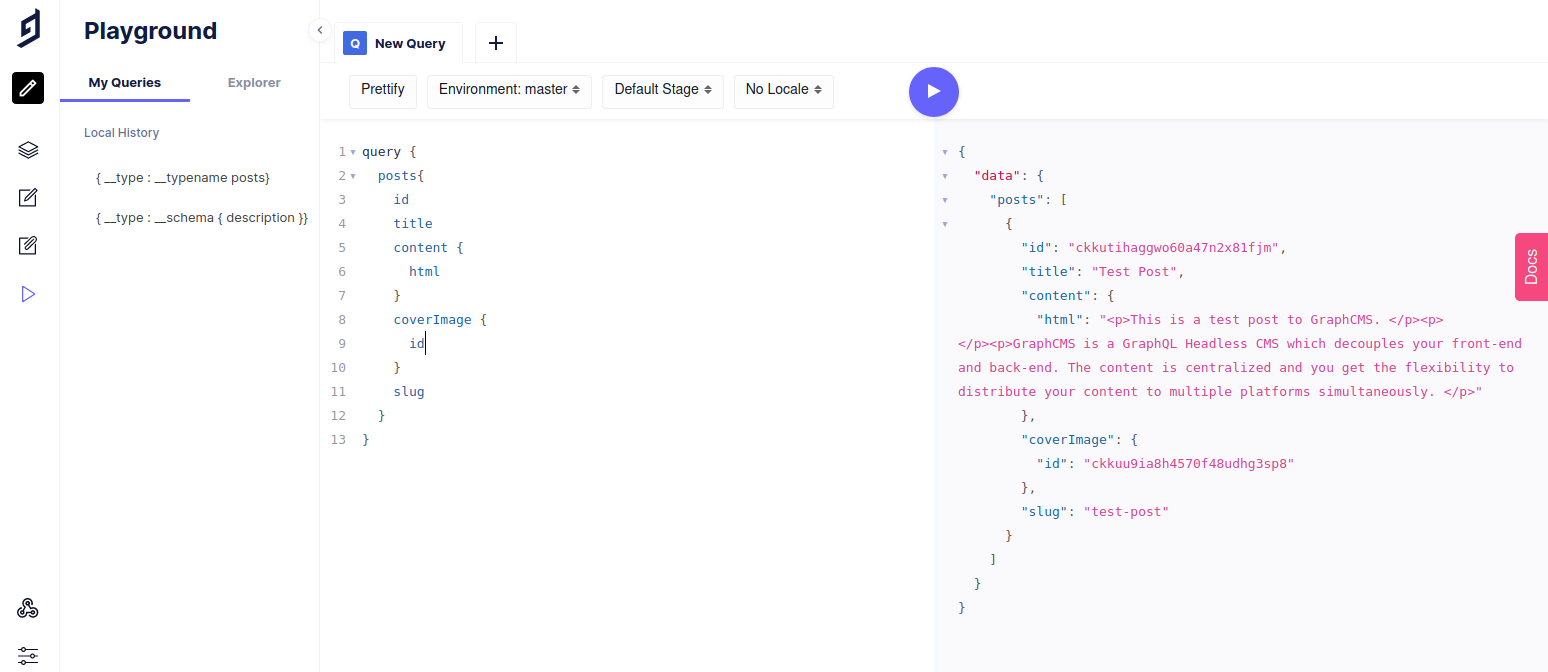
For example, if you want to display the posts, you can write a query like below.
query {
  posts{
    id
    title
    content {
      html
    }
    coverImage {
      id
    }
    slug
  }
}
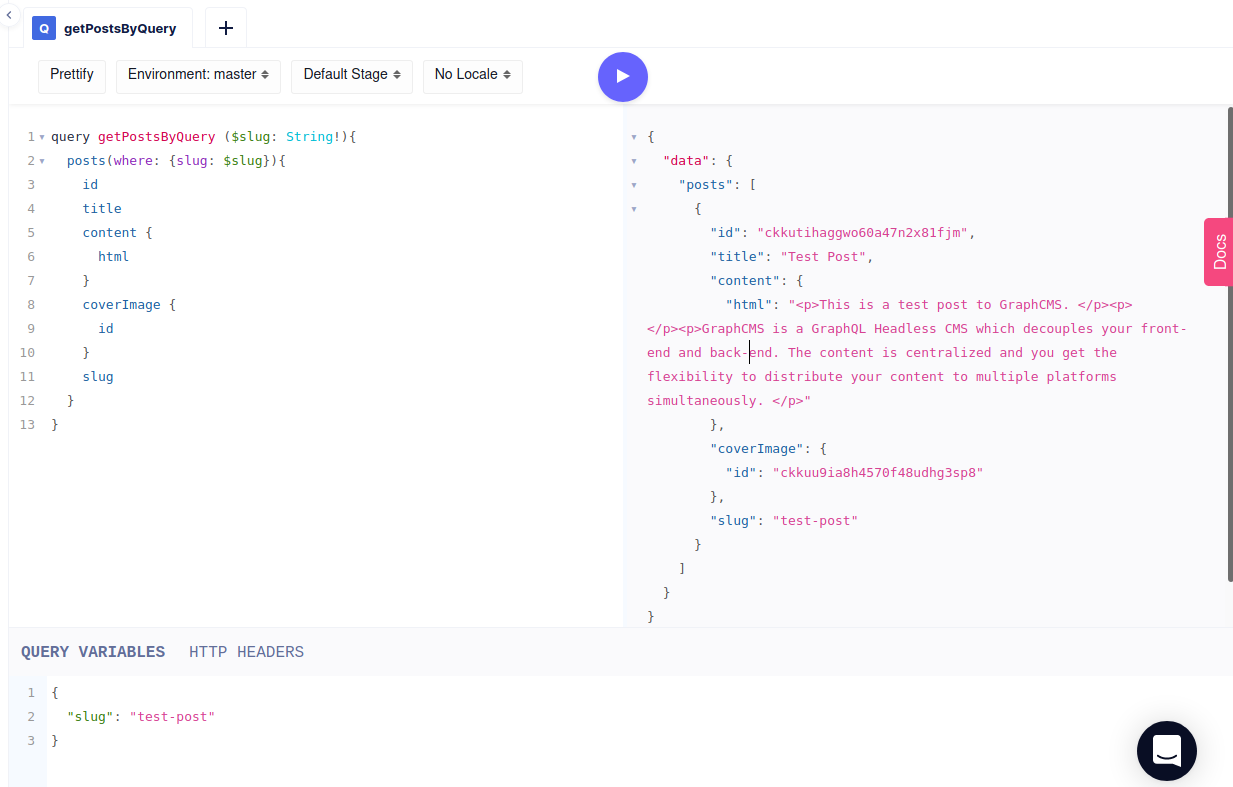
If you’re looking to run queries based on input variables, then you can use a query like below.
query getPostByQuery ($slug: String!){
  posts(where: {slug: $slug}){
    id
    title
    content {
      raw
    }
    coverImage {
      id
    }
    slug
  }
}
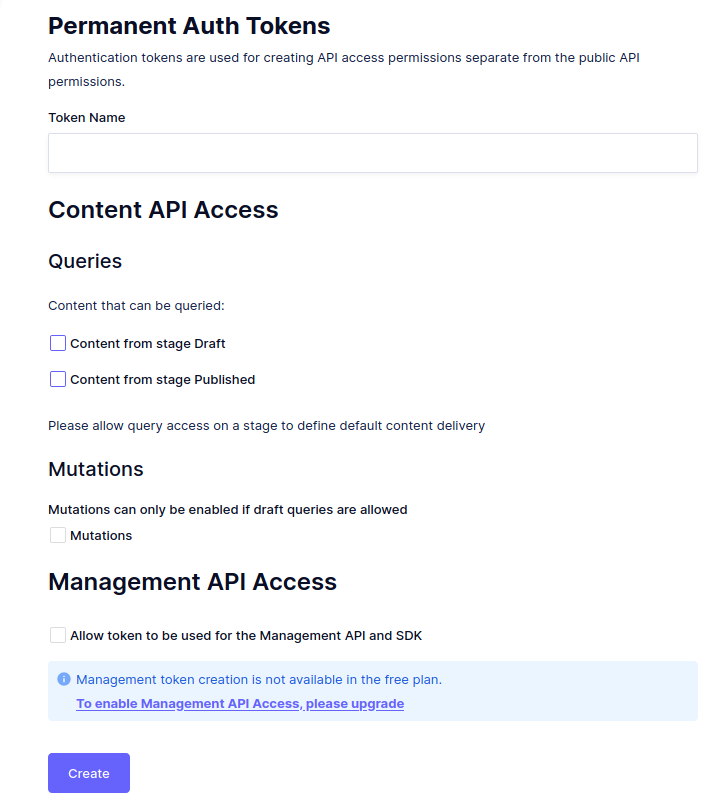
#4. API Permissions
To use the GraphQL API externally, you would need to provide permission. Hygraph exposes an endpoint URL using which you can test the API calls using an external tool like Insomnia and GraphiQL.
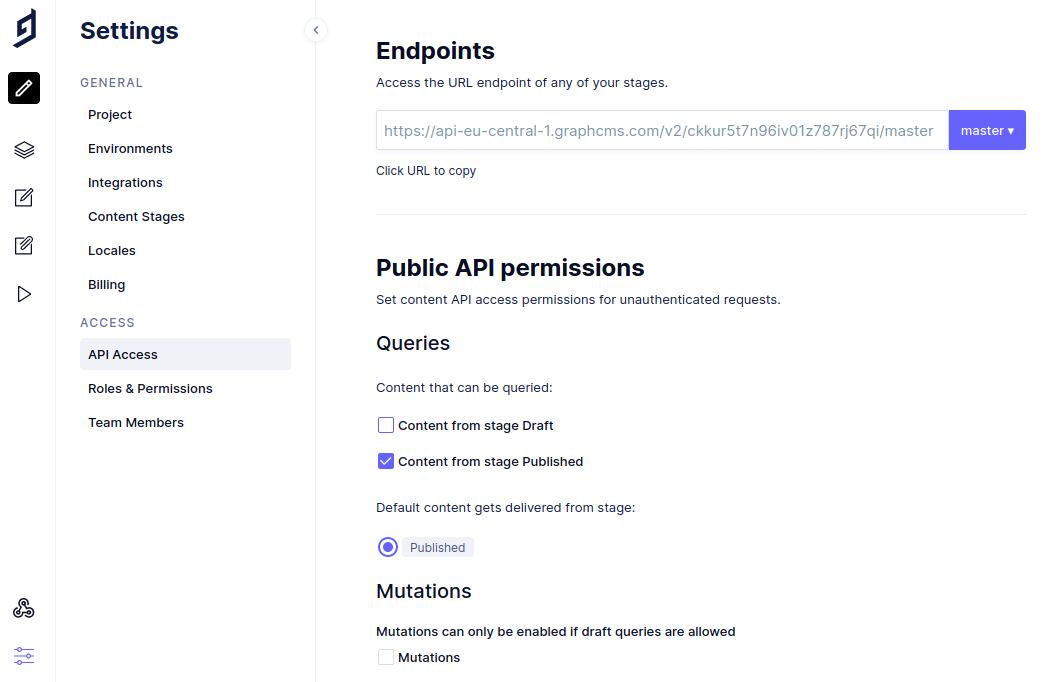
Note that this would allow unauthenticated requests. To allow the API only for authenticated requests, you would need to generate an authentication token.
You can now test your GraphQL API externally like below. I have used Insomnia.
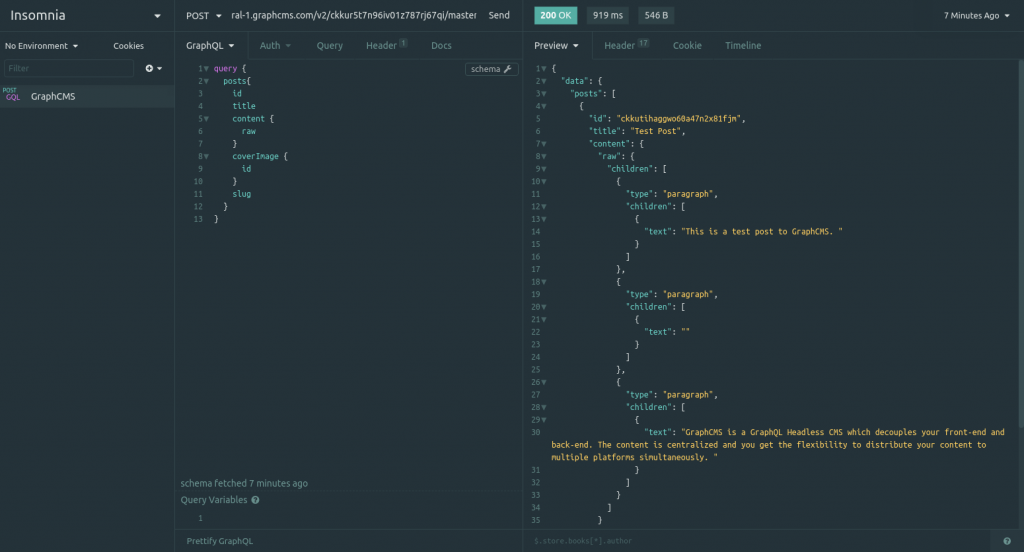
Now that you have setup your API, you can begin to distribute your content.
So, that’s it for this tutorial. Stay tuned for more.