Docker is a set of platform as a service products that use OS-level virtualization to deliver software in packages called containers. Containers are isolated from one another and bundle their own software, libraries and configuration files; they can communicate with each other through well-defined channels.
WordPress is a free and open-source content management system written in PHP and paired with a MySQL or MariaDB database. Features include a plugin architecture and a template system, referred to within WordPress as Themes.
If you’re a PHP/MySQL developer, then combining WordPress with Docker would save you a lot of time in starting a project from scratch. Instead of creating a new setup every time for development, you could just build one container and reuse it. Here is a step by step guide of how to setup WordPress with Docker on Windows.
#1. Install Docker Desktop
First thing that you need to do whether you’re on Windows, Mac or Linux is install Docker Desktop. You can download Docker Desktop from here.
Before you go ahead and install Docker Desktop, please make sure to enable Hyper-V settings on your Windows.
Enable Hyper-V on Windows :
You will need to go to Control Panel –> Programs and Features –> Turn Windows features on or off.

If you need to understand why Hyper-V is required for Docker Desktop, please check here. If Hyper-V settings are grayed out and cannot be enabled, it is most likely disabled in BIOS. You will then need to enable it from the BIOS and enable the settings from Windows.
#2. Run Docker Desktop
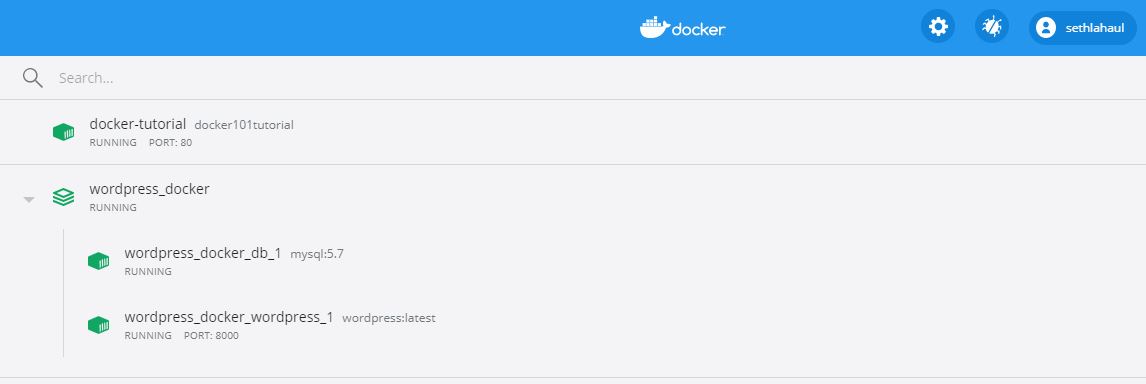
Once Docker Desktop is installed, run it. Docker Dashboard will look something like this. When you launch it for the first time it will have no containers and be empty.
#3. WordPress & MySQL Setup
Once Docker Desktop is up and running, you can start with your WordPress and MySQL setup.
Switch to Linux Container for WordPress
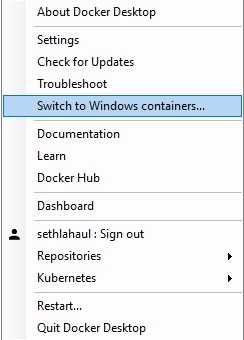
Before you go ahead and setup WordPress, make sure to change the container from Windows to Linux as WordPress only has Linux images for now. You can just right click on the Docker icon in the taskbar and click on ”Switch to Linux containers”. If it shows “Switch to Windows containers”, it means you’re already set to use Linux containers.
Create Project Directory
First thing that you can do is create a directory for your project. You can then open this directory in Visual Studio Code. Code comes with an inbuilt Power Shell terminal which is why it’s easier to run Docker commands.
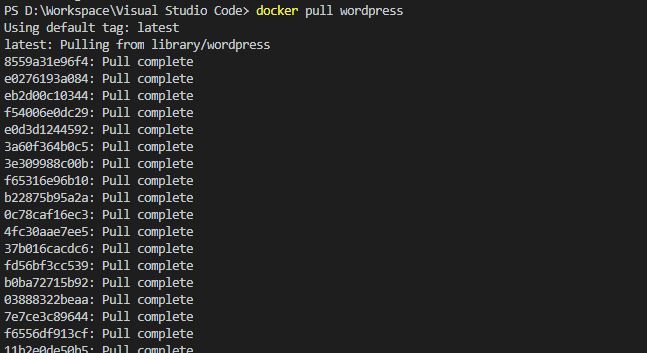
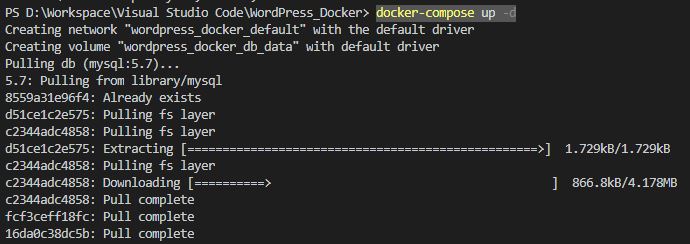
For example, you can directly pull WordPress Docker image by using the below command.
docker pull wordpress
You will see something like below after running the above command.
Next step that you have do is create a docker-compose.yml file which is basically the instruction on how your container will be setup. Here’s how the directory structure will look.
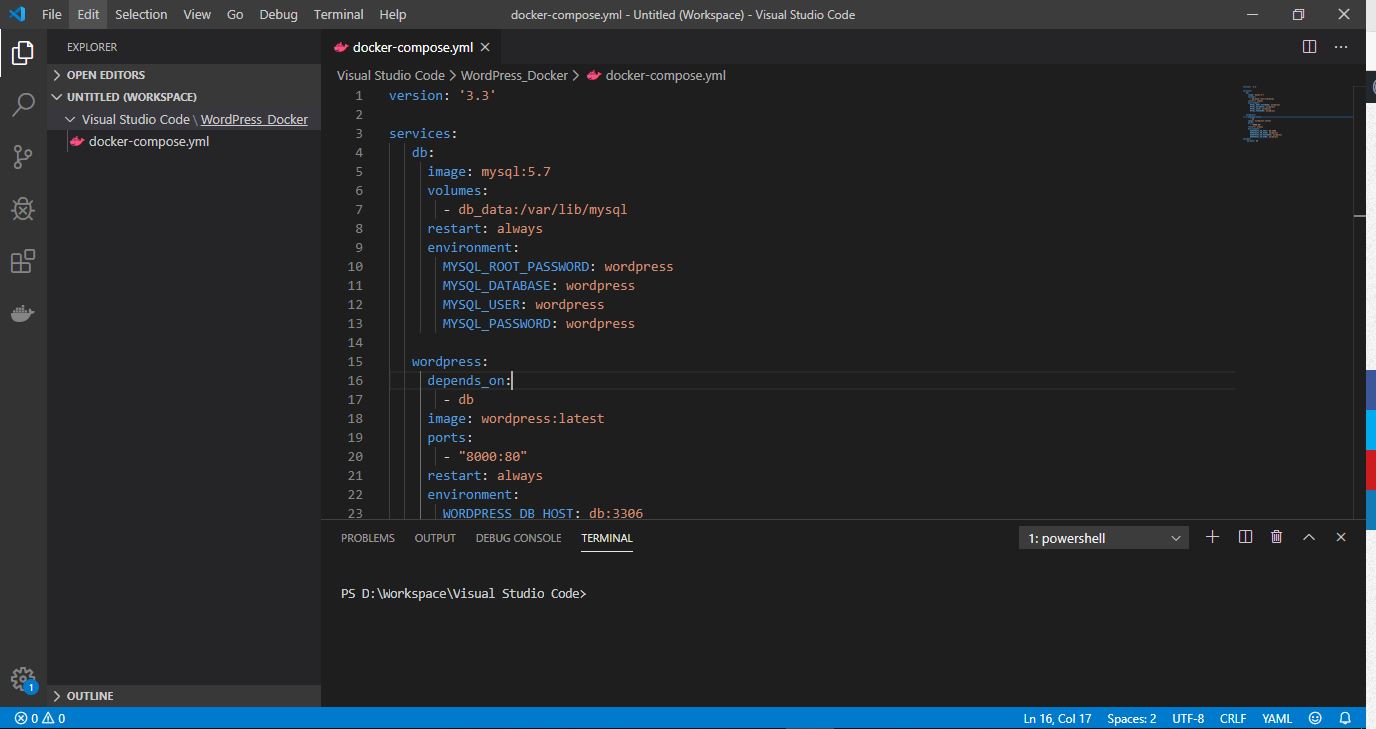
As per the below file, WordPress will be running on port 8000 and MySQL on port 3306. Make sure to change the username and password to whatever you want to use. The file content is same as what is available on Docker website.
version: '3.3'

services:
   db:
     image: mysql:5.7
     volumes:
       - db_data:/var/lib/mysql
     restart: always
     environment:
       MYSQL_ROOT_PASSWORD: wordpress
       MYSQL_DATABASE: wordpress
       MYSQL_USER: wordpress
       MYSQL_PASSWORD: wordpress

   wordpress:
     depends_on:
       - db
     image: wordpress:latest
     ports:
       - "8000:80"
     restart: always
     environment:
       WORDPRESS_DB_HOST: db:3306
       WORDPRESS_DB_USER: wordpress
       WORDPRESS_DB_PASSWORD: wordpress
       WORDPRESS_DB_NAME: wordpress
volumes:
    db_data: {}
Create the file in your project directory and run the below command on the terminal.
docker-compose up -d
Once the above step gets completed, you check if your WordPress and MySQL processes are running. To do that use the below command.
docker ps -a

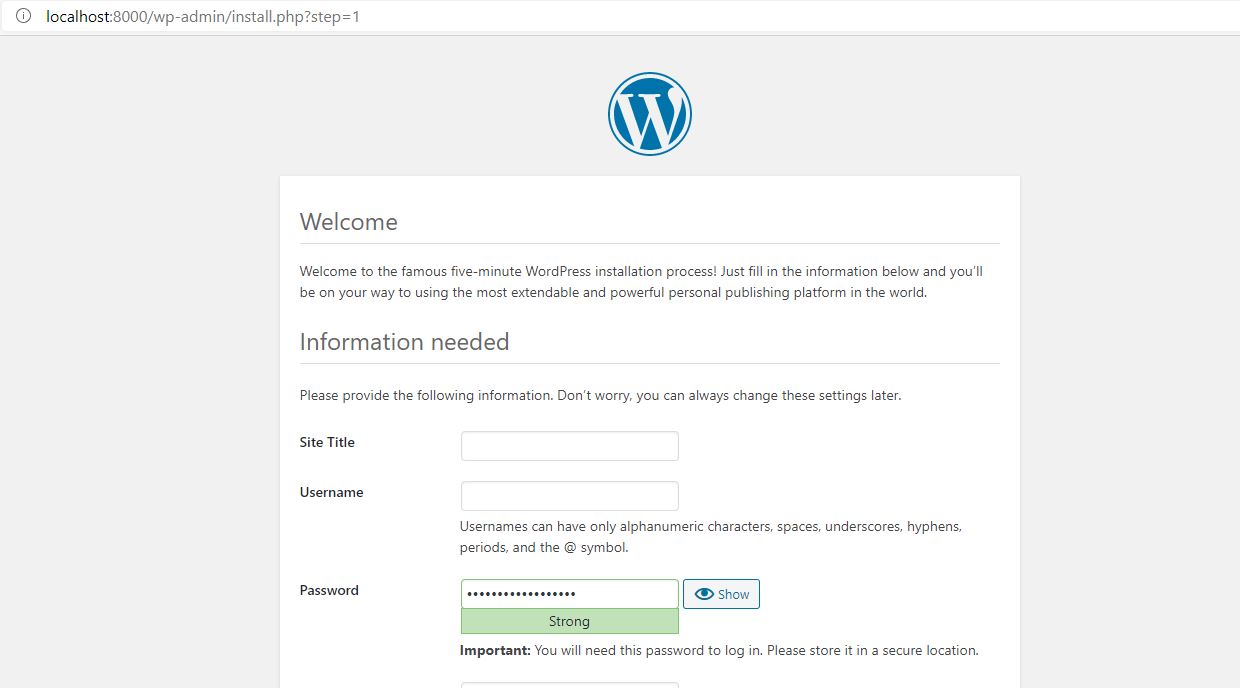
#4. Get started with WordPress
If the above 2 services are running, you should be able to connect to WordPress from your browser with the link – http://localhost:8000/ which will then take you to the WordPress installation page.
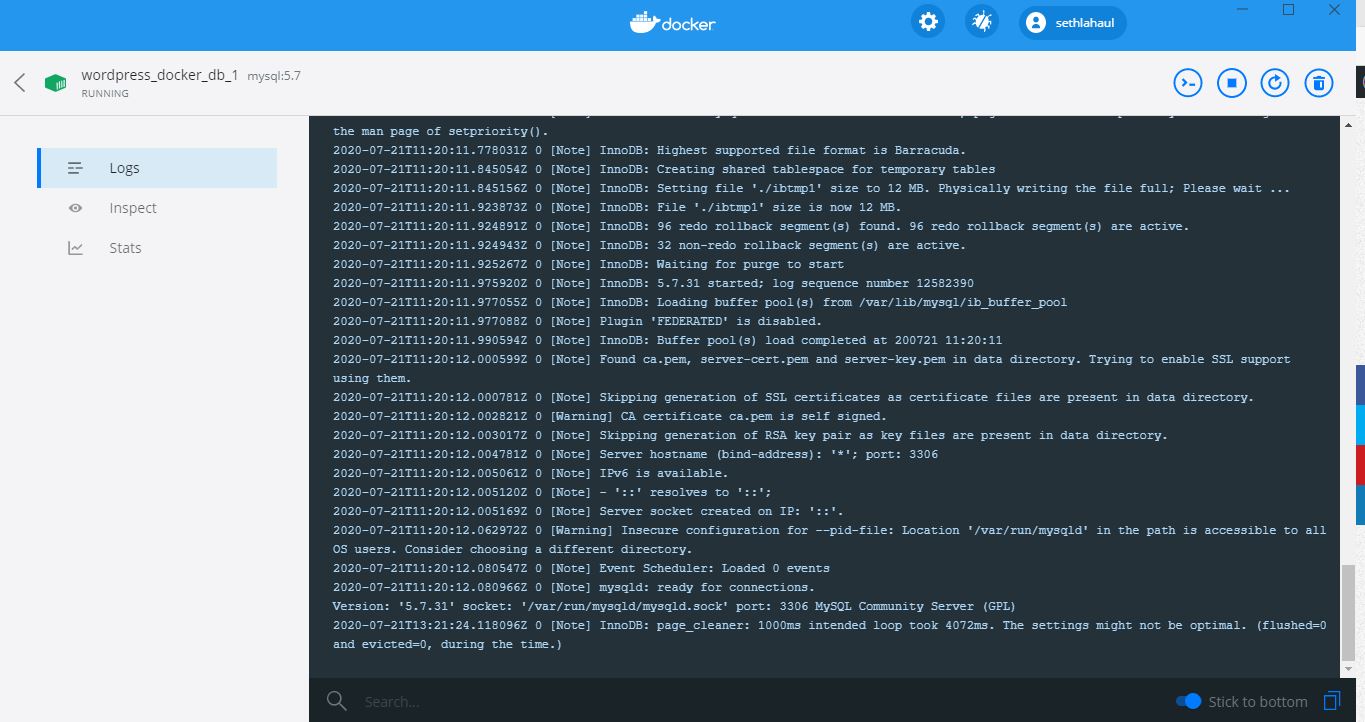
#5. Docker Desktop Logs
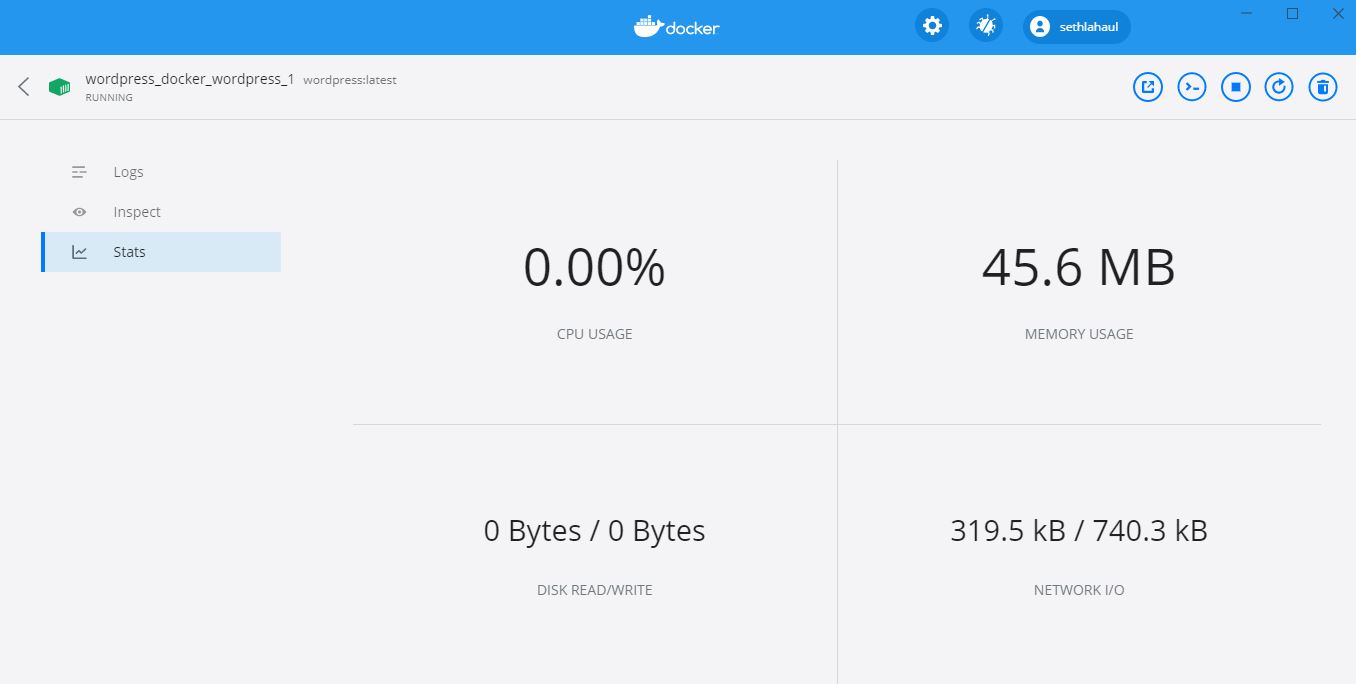
The Docker Dashboard also shows the WordPress and MySQL logs where you can check for errors and each requests that are made to these services.
MySQL logs & stats :
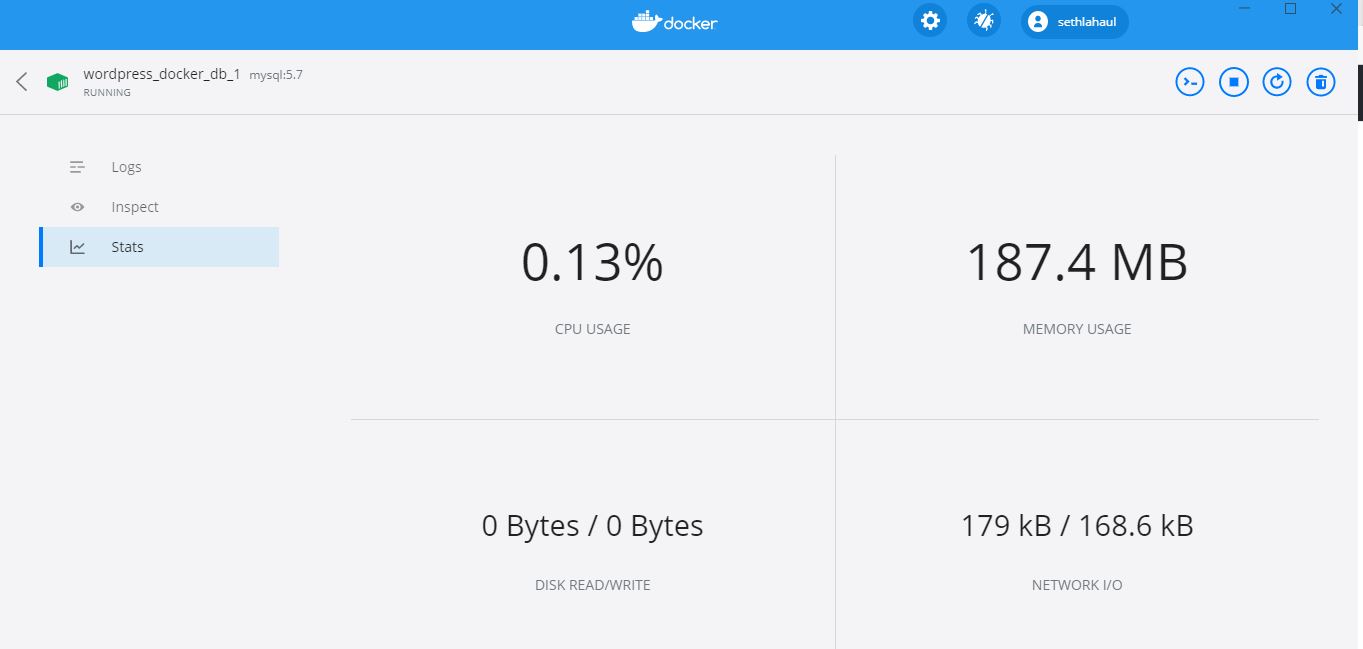
WordPress logs & stats

So, that’s it for this Docker tutorial. Stay tuned for more.