Spring Boot is an open source Java-based framework used to create a Micro Service. It is developed by Pivotal Team. It is easy to create a stand-alone and production ready spring applications using Spring Boot. Spring Boot contains a comprehensive infrastructure support for developing a micro service and enables you to develop enterprise-ready applications that you can “just run”.
Swagger UI allows anyone — be it your development team or your end consumers — to visualize and interact with the API’s resources without having any of the implementation logic in place.
#1. Setup Spring Boot
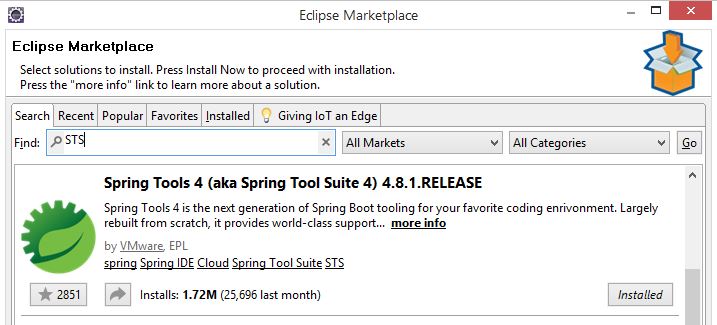
The first thing that you need to do is setup Spring Boot. I have used Eclipse. You can also set it up in other IDE like Intellij Idea. To develop Spring Boot application in Eclipse you will need to install the STS plugin. You can install the plugin from Eclipse Marketplace.
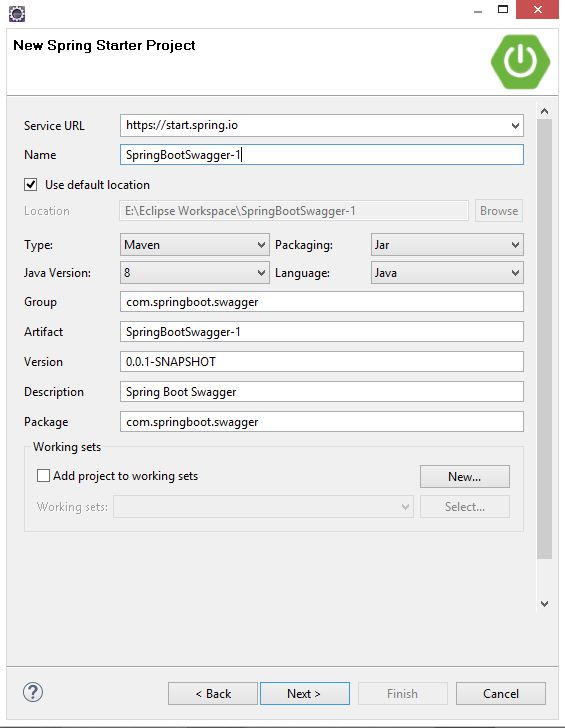
Once you have installed the plugin, you can create a Spring Starter Project which is the easiest way to get started.
#2. Spring Boot & Swagger Configuration
To configure Swagger, you need the below 3 dependencies in your pom.xml.
<!-- https://mvnrepository.com/artifact/io.springfox/springfox-swagger2 -->
<dependency>
	<groupId>io.springfox</groupId>
	<artifactId>springfox-swagger2</artifactId>
	<version>3.0.0</version>
</dependency>

<!-- https://mvnrepository.com/artifact/io.springfox/springfox-boot-starter -->
<dependency>
	<groupId>io.springfox</groupId>
	<artifactId>springfox-boot-starter</artifactId>
	<version>3.0.0</version>
</dependency>

<!-- https://mvnrepository.com/artifact/io.springfox/springfox-swagger-ui -->
<dependency>
	<groupId>io.springfox</groupId>
	<artifactId>springfox-swagger-ui</artifactId>
	<version>3.0.0</version>
</dependency>
Below is the complete pom.xml which I have used.
<?xml version="1.0" encoding="UTF-8"?>
<project xmlns="http://maven.apache.org/POM/4.0.0"
	xmlns:xsi="http://www.w3.org/2001/XMLSchema-instance"
	xsi:schemaLocation="http://maven.apache.org/POM/4.0.0 https://maven.apache.org/xsd/maven-4.0.0.xsd">
	<modelVersion>4.0.0</modelVersion>
	<parent>
		<groupId>org.springframework.boot</groupId>
		<artifactId>spring-boot-starter-parent</artifactId>
		<version>2.4.0</version>
		<relativePath /> <!-- lookup parent from repository -->
	</parent>
	<groupId>com.springboot.swagger</groupId>
	<artifactId>SpringBootSwagger</artifactId>
	<version>0.0.1-SNAPSHOT</version>
	<name>SpringBootSwagger</name>
	<description>Spring Boot Swagger</description>

	<properties>
		<java.version>1.8</java.version>
	</properties>

	<dependencies>
		<dependency>
			<groupId>org.springframework.boot</groupId>
			<artifactId>spring-boot-starter</artifactId>
		</dependency>

		<dependency>
			<groupId>org.springframework.boot</groupId>
			<artifactId>spring-boot-starter-test</artifactId>
			<scope>test</scope>
		</dependency>

		<!-- https://mvnrepository.com/artifact/io.springfox/springfox-swagger2 -->
		<dependency>
			<groupId>io.springfox</groupId>
			<artifactId>springfox-swagger2</artifactId>
			<version>3.0.0</version>
		</dependency>

		<!-- https://mvnrepository.com/artifact/io.springfox/springfox-boot-starter -->
		<dependency>
			<groupId>io.springfox</groupId>
			<artifactId>springfox-boot-starter</artifactId>
			<version>3.0.0</version>
		</dependency>

		<!-- https://mvnrepository.com/artifact/io.springfox/springfox-swagger-ui -->
		<dependency>
			<groupId>io.springfox</groupId>
			<artifactId>springfox-swagger-ui</artifactId>
			<version>3.0.0</version>
		</dependency>

		<dependency>
			<groupId>org.springframework.boot</groupId>
			<artifactId>spring-boot-starter-web</artifactId>
		</dependency>

		<dependency>
			<groupId>org.springframework.boot</groupId>
			<artifactId>spring-boot-devtools</artifactId>
		</dependency>
	</dependencies>

	<build>
		<plugins>
			<plugin>
				<groupId>org.springframework.boot</groupId>
				<artifactId>spring-boot-maven-plugin</artifactId>
			</plugin>
		</plugins>
	</build>

</project>
Once you have the pom.xml in place, you can create a package for config and use the below code. A Springfox Docket instance provides the primary API configuration with sensible defaults and convenience methods for configuration.
@Configuration
public class SpringBootSwaggerConfig {

    @Bean
    public Docket api() {
        return new Docket(DocumentationType.SWAGGER_2)
          .select()
          .apis(RequestHandlerSelectors.any())
          .paths(PathSelectors.any())
          .build();
    }
}
Once the config is in place, you can create a simple controller for the project for requests.
@RestController
public class SpringBootSwaggerController {

    @RequestMapping(value = "/hello")
    public String Hello() {
        return "Hello World";
    }
}
To check if the request works, you can test it on your local browser. You can use the url – http://localhost:8080/<context path>/hello
You can set the context path in your application.properties which would be present in src/main/resources.
server.servlet.context-path=/SpringBootSwagger/api

As far as the main class is concerned, you can have the usual implementation like the below.
@SpringBootApplication
@EnableAutoConfiguration
public class SpringBootSwaggerApplication extends SpringBootServletInitializer  {

    public static void main(String[] args) {
	SpringApplication.run(SpringBootSwaggerApplication.class, args);
    }

}
#3. Run application
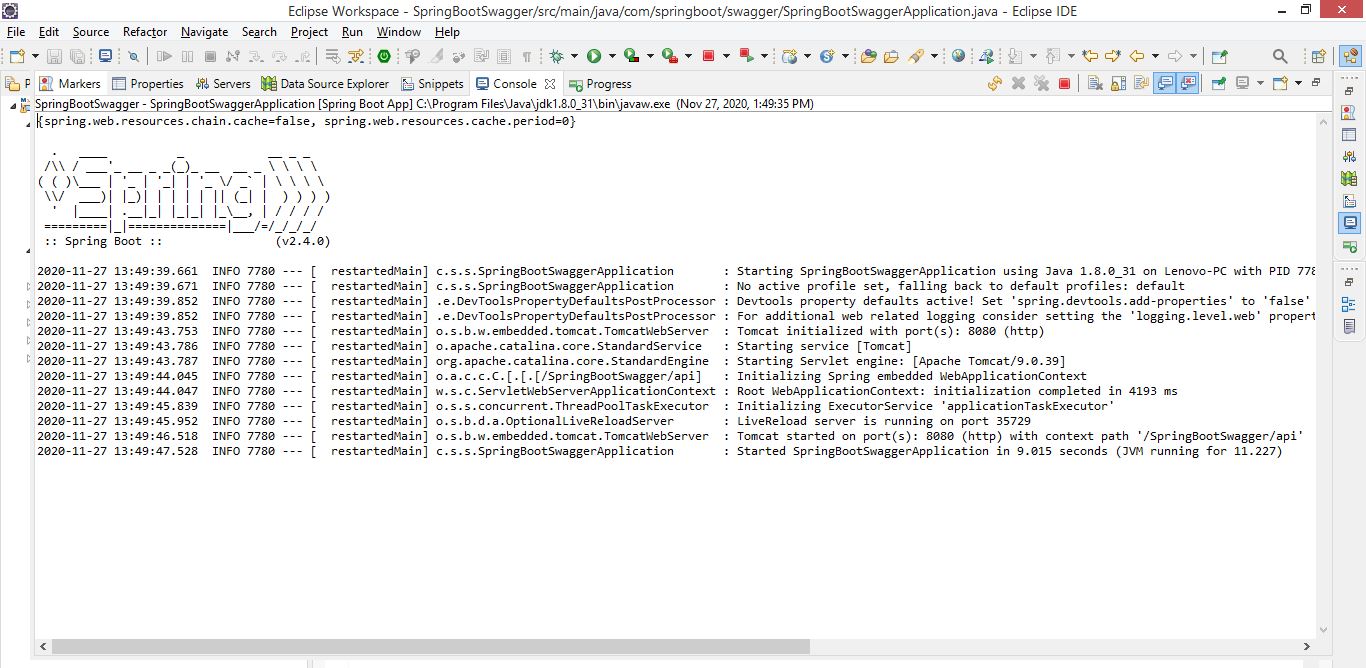
The easiest way to test the application is run it directly from Eclipse.
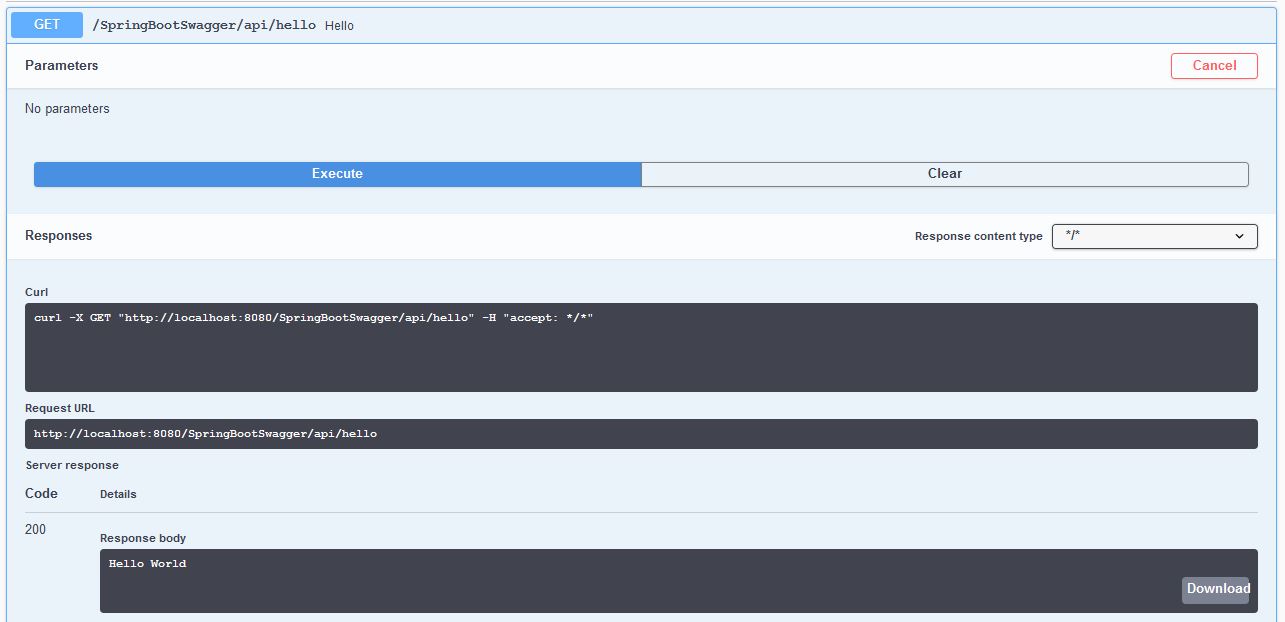
Once the application starts running you can test the Swagger UI in your local browser.
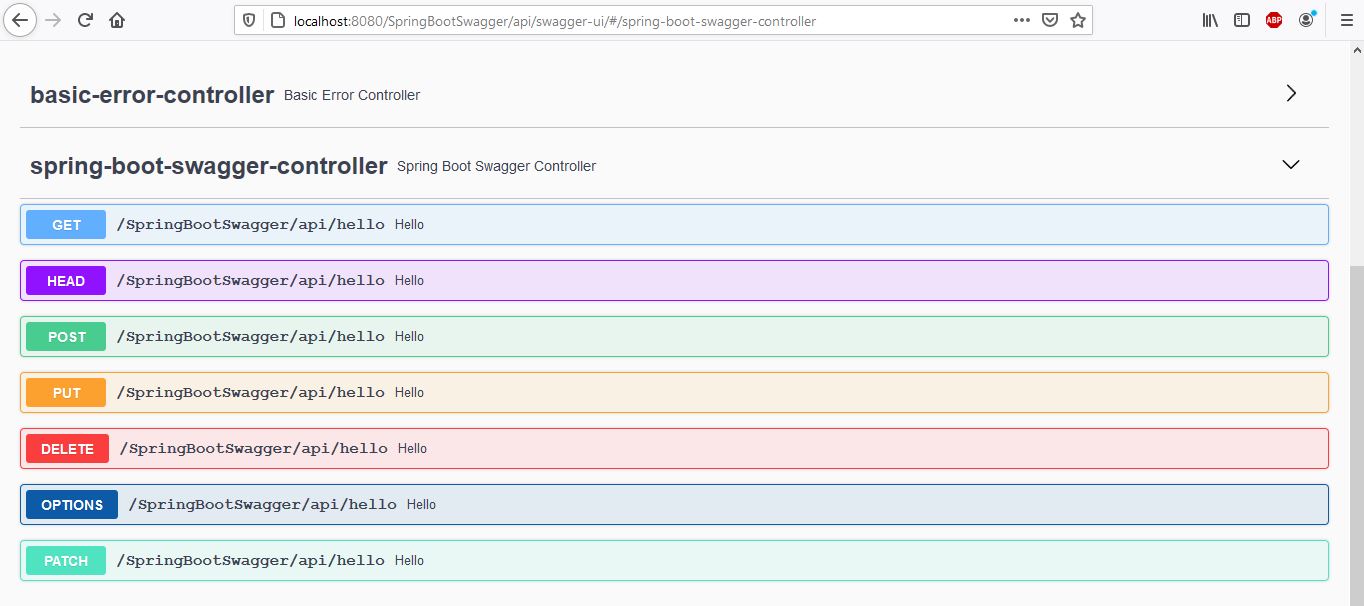
You can test out the Swagger UI by executing one of the APIs.
That’s it for this tutorial. Stay tuned for more.